Updated 7 July 2026
I don’t look at a filter as a box that cleans the water; I look at it as the “Lungs and Liver” of the aquarium. After 15 years of testing everything from sponge filters in my nano setups to massive canister filters on my 50-gallon community, I’ve learned that the “best” filter isn’t the one with the flashiest box — it’s the one with the most logical biological capacity.
In this guide, I’m stripping away the marketing jargon to show you which filters actually keep your water pristine, the “dirty” secret of why I stopped using carbon, and how to choose the right flow rate so your fish aren’t living in a washing machine.
Disclosure: AquaLogicHQ.com is a participant in the Amazon Services LLC Associates Program, as well as other affiliate programs, designed to provide a means for us to earn fees by linking to Amazon.com and affiliated sites at no extra cost to you. Please see the Affiliate Disclosure for more details.
How I Actually Tested These Filters
I’m not unboxing these filters for a week and writing a review — every filter on this list has been running in one of my own tanks for years, not days. The AquaClear on my 20-gallon long has been logging real hours since 2018. The Fluval C4 runs on my 50-gallon community tank right now. The Hygger sponge filter is what I trust with Maximus, my Betta, because it’s the only setup I’ve found with zero risk to his fins. If a filter’s still running clean, quiet, and reliable years later — not just out of the box — that’s what earns a spot on this list.
The Best Fish Tank Filter TLDR Cheat Sheet:
- The #1 Rule: Stop throwing away your filter cartridges monthly. You are throwing away your beneficial bacteria and risking a tank crash.
- Best Reliable HOB: Fluval AquaClear- Massive open basket, no cheap cartridges.
- Best for Total Silence and Large Tanks: Fluval 07 Canister Series — Dead quiet, fits under the cabinet.
- Best for Budget & Nano: Hygger Double Sponge— Air-powered, completely safe for Bettas.
- The 3 Filter Types: Sponge (safest for Bettas/fry), HOB (easiest maintenance), Canister (largest capacity, quietest).
Here’s how my top 5 stack up side-by-side:
| Product Recommendations | Best For | Type | Price | |
|---|---|---|---|---|
| Fluval AquaClear 50 | Most beginners, 20-50 gallon tanks | HOB | $35-$80 | Check price |
| Fluval 07 Series Canister | Large tanks (40+ gal) & silent operation | Canister | $135-$229 | Check price |
| Fluval C-Series | Messy tanks & water clarity | HOB / Canister hybrid | $50-$85 | Check price |
| Hygger Double Sponge | Bettas, shrimp, fry | Sponge | ~$20 | Check price |
| Seachem Tidal | Self-priming & surface scum control | HOB | ~$49 | Check price |
Jump to the Filter Reviews
Quick Post Summary:
Here’s the core of what 15 years of running filters has taught me, if you don’t have time for the whole guide. Most people’s filters fail them for one reason: they follow the box instructions instead of the logic of the tank. Throwing away your cartridge every month feels responsible, but you’re actually throwing away your beneficial bacteria and resetting your tank’s ability to process waste — that’s the single most common mistake I see, and it’s covered in more depth in my starter bacteria guide.
Which type of filter you need comes down to your tank, not your budget. Sponge filters are the safest option if you’re keeping Bettas, shrimp, or fry, since there’s no intake to injure them. HOB filters are the right starting point for most 20-50 gallon community tanks — easy to maintain, and my top pick here (the AquaClear) uses an open media basket instead of the flimsy cartridges most beginners get stuck buying. Once you’re past 40 gallons, or dealing with messier fish like goldfish or large cichlids, a canister filter earns its higher price and more involved cleaning — it’s the only type with enough biological capacity to keep up.
If your filter’s making noise, it’s almost never the motor dying — it’s usually trapped air, a dirty impeller, or media that isn’t fully submerged. I break down the exact fixes in the filter media section below, and cover the deeper “why” behind cartridge timing in my filter-change logic post.
Bottom line: match the filter type to your tank size and bioload, stop replacing cartridges on a schedule instead of by logic, and don’t let a slightly larger canister scare you off if your tank size actually calls for one.
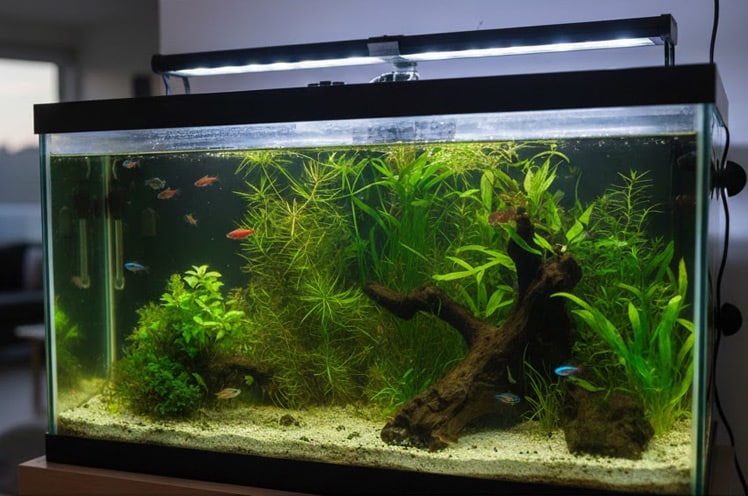
The 3 Stages of Filtration In Aquarium Filters
The biggest logical error beginners make is using the disposable cartridges that come in the box. I never use them. Instead, I custom-load my filters with high-porosity ceramic rings and coarse sponge. Why? Because throwing away a cartridge means throwing away your bacterial colony. I’ll show you how to ‘hack’ your filter in my best starter bacteria post, so you never have to buy a replacement cartridge again.
Before you rush out to get a new filter, you may want to check out my post on how often to change a fish tank filter and save yourself some cash.
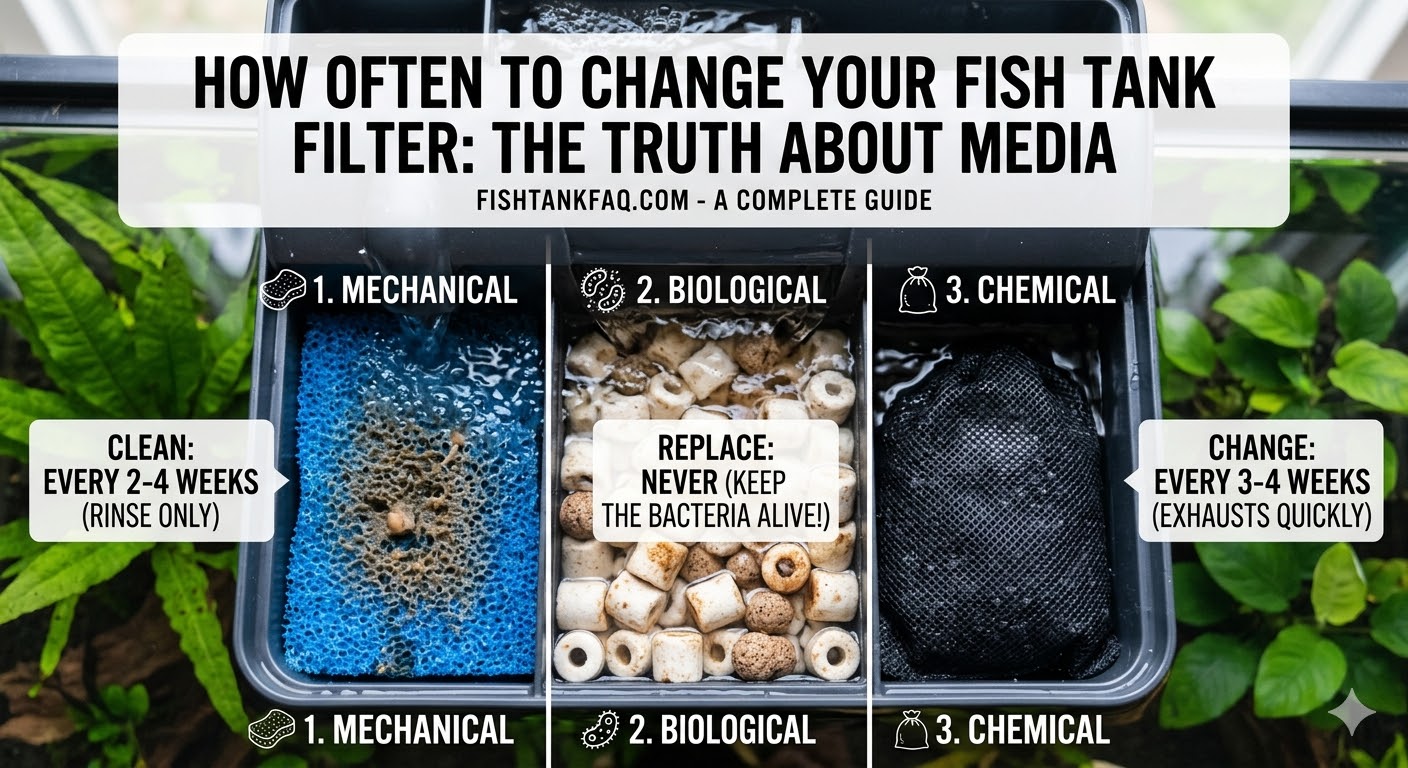
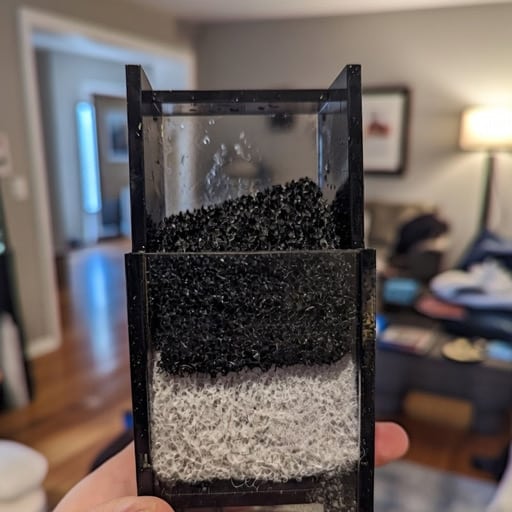
Most filter boxes tell you to replace your cartridges every month. Don’t do it. Here is the real breakdown of what’s happening inside that box:
Mechanical (The Trash Collector):
This is your sponge or floss. It catches the big gunk. You rinse this; you don’t replace it until it’s literally falling apart.
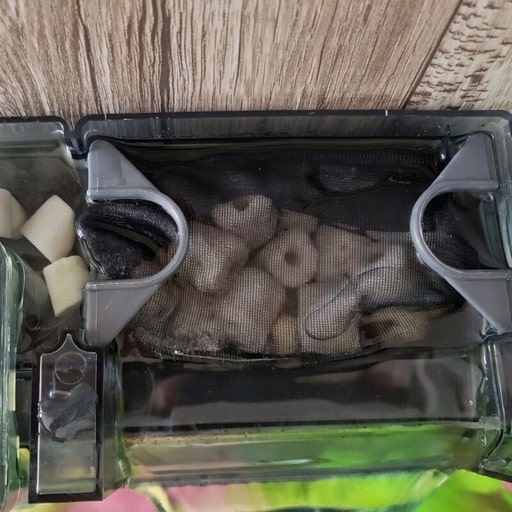
Biological (The Life Support):
This is where your ‘good’ bacteria live. This is the most important part of your filter. If you throw this away, you crash your tank’s cycle. See my post on the best starter bacteria.
Chemical (The Polish):
This is usually carbon. It removes smells and yellow tints.
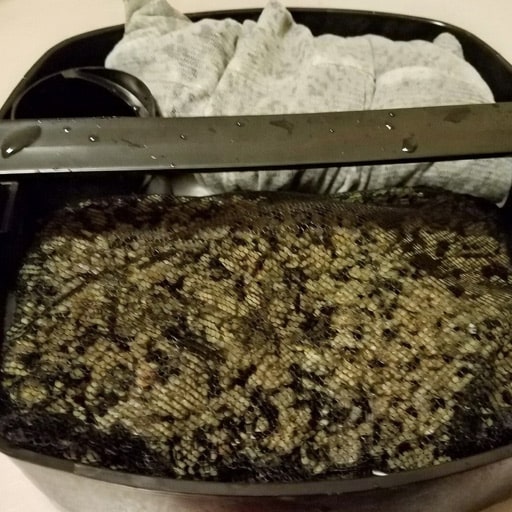
Quick Tip: I actually leave the carbon out of 90% of my filters. I’d rather use that extra space for more biological media (like ceramic rings). I only bring carbon out if I need to remove medication or if my water gets a weird smell. With that said, check out my post on how to get rid of fish tank smells.
What “Bioload” Actually Means ( Why It Matters)
I throw this word around a lot on this site, so let’s define it properly: bioload is the total amount of waste your tank produces at any given time. It’s not just “how many fish you have” — it’s a combination of fish size, how much they eat, and how messy they are as a species.
This is why tank size alone is a bad way to shop for a filter. A 20-gallon tank with six small tetras has a light bioload. A 20-gallon tank with one fancy goldfish has a heavy bioload — goldfish eat constantly and produce waste like a fish twice their size. Same gallon count, completely different filtration needs.
My rule of thumb: before you even look at filter brands, ask yourself three questions:
- How big will they get? A “small” fish today (like an Oscar or a common Pleco) can turn into a heavy-bioload monster in a year.
- How messy is the species? Goldfish, cichlids, and Plecos are notorious waste producers. Bettas, shrimp, and most nano fish have a light bioload.
- How heavily do you feed? Overfeeding doesn’t just risk ammonia spikes — uneaten food rots and adds directly to your bioload, on top of whatever the fish themselves produce.
Once you’ve got an honest answer, the filter type question gets a lot easier. A light-bioload nano tank can thrive on a sponge filter. A heavy-bioload 50-gallon community tank needs the biological capacity of a canister, no matter how “big enough” a cheaper HOB looks on paper. This is the logic behind every recommendation in this guide — I’m not picking filters by tank size, I’m picking them by what’s actually living in that tank.
The AquaLogicHQ Filter Flow Rate and Bioload Calculator
Filter Flow Rate (GPH) Calculator
Enter your tank size and bioload — get the minimum GPH you actually need.
| Filter | Rated GPH | Best Tank Size |
|---|---|---|
| Hygger Double Sponge | Depends on air pump | Nano / fry / Bettas |
| Seachem Tidal 35 | 130 GPH | Up to 35 gal |
| Fluval AquaClear 50 | 200 GPH | 20–50 gal |
| Fluval C4 | 264 GPH | 40–70 gal |
| Fluval 407 Canister | 383 GPH | 50–100 gal |
Chart shows manufacturer-rated flow. Use the calculator above to find your actual target based on bioload.
Types of Aquarium Filters
Before you look at brands, you need to pick the style of filter that fits your lifestyle (and your tank size). Here is my 15-year breakdown of the four main players:
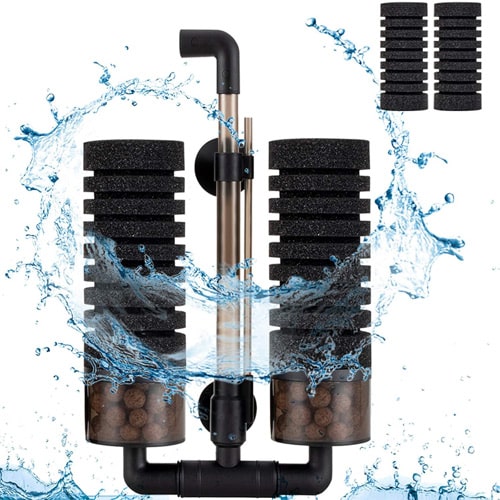
Sponge Filters/Internal:
These are powered by an air pump. They are the safest choice for Bettas, shrimp, or baby fish (fry) because there is no intake to suck them in.
I use this type on my nano betta tank and my breeder tank. They aren't great at mechanical 'polishing,' but for biological health, they are bulletproof.
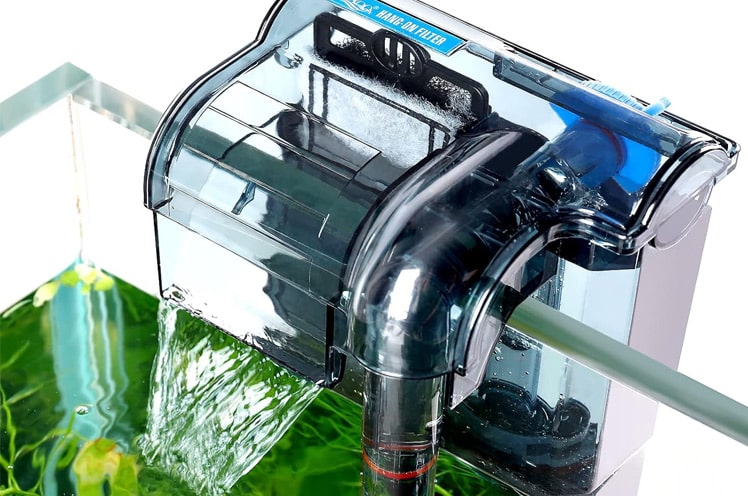
Hang-on-Back / HOB:
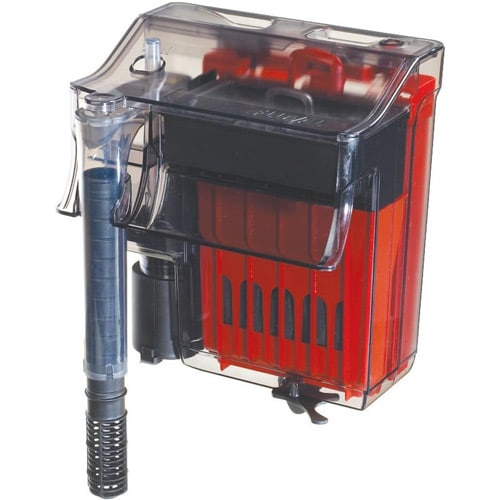
This is what most beginners should start with. They sit on the back of the tank and are incredibly easy to maintain.
On my 20-gallon long and my 50-gallon community, these have worked great. Look for ones with 'media baskets' so you aren't forced to buy those expensive, flimsy cartridges.
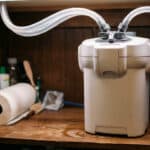
Canister Filters:
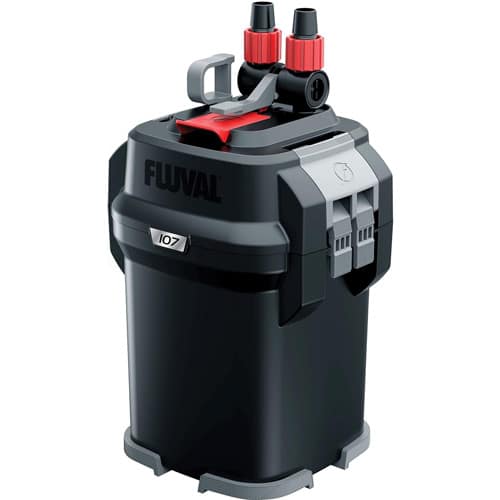
These sit under your tank in the cabinet. They move a massive amount of water and hold the most filter media.
If you have a tank over 40 gallons or a 'messy' fish (like goldfish or large cichlids), a canister is the only way to go. They are dead quiet but a bit of a chore to clean. Heater placement is also a little more important with this type of filter. My canister filter guide also goes over everything you need to know for these heavy-duty filters.
Check Out Popular Posts:
The Most Accurate Test Kits | How To Bring Aquarium pH Down
Best Fish Tank Light For Plants
The Best Filter Media for a Quiet Aquarium - 2026 Guide
If your aquarium filter sounds like a waterfall or a grinding motor, it’s usually an issue with your media placement or your impeller. To achieve a truly noise-free aquarium filter, follow this logical stacking order:
The Foam Hack: If the plastic lid of your Hang-On-Back filter is rattling, cut a tiny strip of foam (an old mouse pad works perfectly) and wedge it under the rim of the lid to absorb the sound waves.
Dampen the Vibration: Place a coarse sponge block at the very bottom of your filter intake. This absorbs the initial motor rattle before it vibrates against the plastic housing.
Submerge Your Media: Ensure your ceramic bio-rings are fully submerged. If water is dropping onto them from above, it creates a trickling noise. Keeping them underwater keeps things dead silent.
The 5 Best Reliable Aquarium Filters Under $200
- Fluval AquaClear 50gal (Best Overall)
- Fluval 07 Series (Best for Large Tanks)
- Fluval C-Series (Best for Clarity)
- Hygger Double Sponge (Best for Nano/Bettas)
- Seachem Tidal (Best User-Friendly)
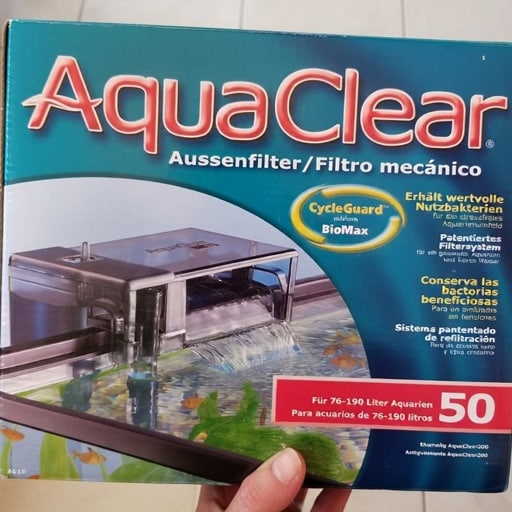
1. Fluval AquaClear 50gal HOB Filter
Best For: Most Beginners & 20–50 Gallon Tanks
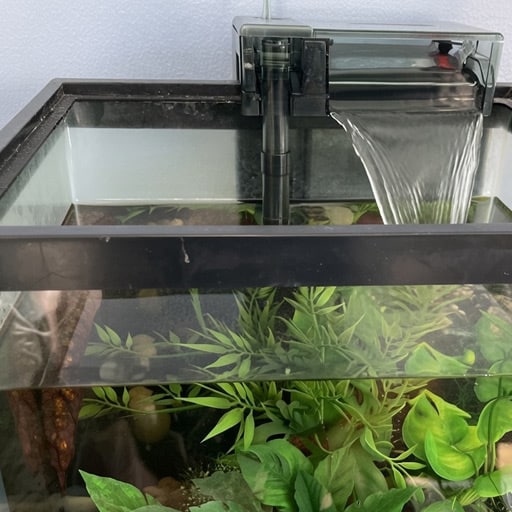
My Thoughts: If I could only use one filter for the rest of my life, it would be an AquaClear. I currently have the AquaClear 50 running on my 20-gallon long.
Why I Love It: It doesn't use those flimsy "slide-in" cartridges. It has a big, open media basket.
How I Use It: I toss the carbon it comes with and stack an extra-thick sponge on the bottom, followed by a double dose of ceramic bio-rings. Because it flows from the bottom up, the water hits the "trash collector" sponge first, keeping your biological rings clean and healthy.
Pro Tip: If it starts to "rattle," the impeller (the little magnetic fan) usually just has a bit of slime or sand on it. A 30-second rinse of that part makes it silent again.
Cost: About $60 (4.1 Stars / 7,712 Reviews)
The Fluval AC line runs from $35 to $80
Flow Rate: 200 GPH — rated for 20-50 gallon tanks.
2. Fluval 07 Series Canister
Best For: Large Tanks (40+ Gallons) & Silent Operation
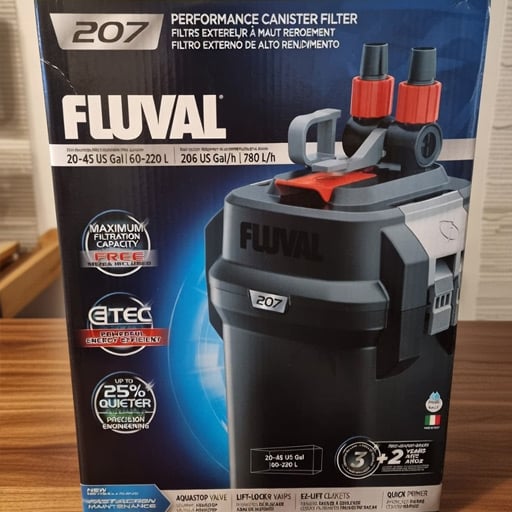
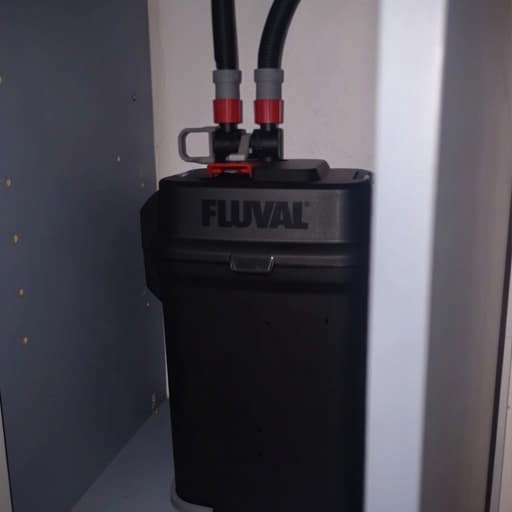
My Thoughts: This is the "Ferrari" of filters, and if you're running anything over 40 gallons or a messier setup (goldfish, large cichlids), I'd start here before anything else on this list. The biological capacity isn't close to what a HOB can offer.
Why I Love It: It's dead silent — you genuinely can't tell it's running. And because it sits under the cabinet instead of hanging off the tank, you get that clean, professional look with zero equipment visible.
The Trade-Off: Cleaning means unhooking hoses and hauling the canister to the sink — it's more involved than rinsing a HOB basket. I switched to a HOB setup on my 20-gallon once my two-year-old daughter started grabbing at the hoses, but on my 50-gallon, the canister is still the better tool for the job. If you've got the tank size to justify it, don't let the cleaning process scare you off — it's maybe 10 extra minutes once a month.
Cost: About $155 (4.4 Stars / 9,524 Reviews)
The Fluval 7 Line runs from $135 to $229
Flow Rate: Up to 383 GPH on the 407 model (50-100 gal). The 07 Series also comes in smaller sizes (307, 207, 107) if you're on a smaller tank but still want canister-level filtration.
3. Fluval C-Series 5-Stage Filter
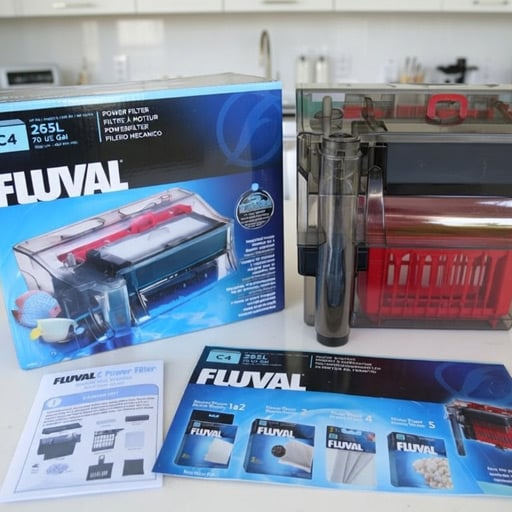
Where I Use It: I run the FLUVAL C4 on my 50-gallon community tank. It’s like a HOB and a Canister filter had a baby.
Why I Love It: It has a dedicated "Biological Well" and a "Cleaning Indicator."
The Dirty Truth: That red indicator pops up when the filter is clogged. In my experience, if that red button is up, you’ve already waited too long. I ignore the button and just rinse my pads every two weeks.
Best For: If you have a messy tank or high bio-load, the 5-stage cleaning in this box is hard to beat for clarity.
Cost: About $55 (4.0 Stars / 5,049 Reviews)
The Fluval C line runs from $50 to $85
Flow Rate: 264 GPH — rated for 40-70 gallon tanks.
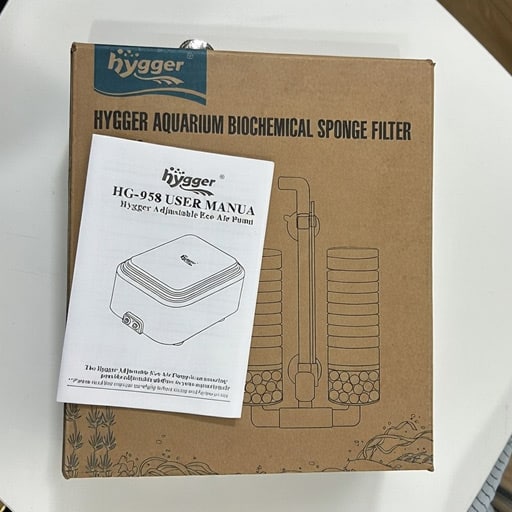
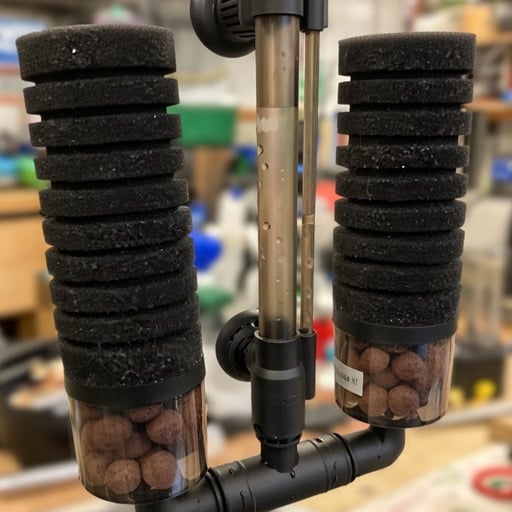
4. Hygger Double Sponge Filter
Best For: Bettas, Shrimp, Fry, and other sensitive fish
Where I Use It: This is the only filter I trust for Maximus in his nano tank.
Why I Love It: Traditional filters have a suction intake that can tear a Betta’s delicate fins. Since this is powered by air (you'll need an air pump to run it), there is zero suction.
How I Use It: I use this in my Nano tank and my 20-gallon breeder when I'm growing out baby fish. It provides solid surface agitation (O2) without creating a "washing machine" current that exhausts the fish.
Cost: About $20 (4.4 Stars / 4,155 Reviews)
Flow Rate: No fixed GPH — sponge filters run off whatever air pump you attach, so output depends on your pump's strength, not the filter itself. This is actually part of why they're so gentle for fry and Bettas.
5. Seachem Tidal
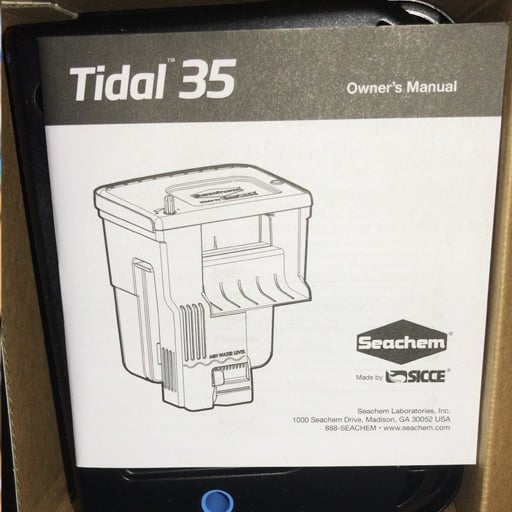
Best For: Peace of Mind & Surface Scum
My Thoughts: This is the most "user-friendly" filter on the market right now.
Where I Use It: I use this for my breeder tank along with the double sponge.
Why I Love It: The pump is submerged inside the tank. This means if the power goes out, it self-primes. You don't have to rush to the tank and pour water into it to get it started again.
What I Love Most: It has a built-in surface skimmer. If you get that oily "film" on top of your water, this filter sucks it right off, keeping the surface crystal clear.
Cost: About $49 (4.4 Stars / 2,641 Reviews)
Flow Rate: 130 GPH — rated for tanks up to 35 gallons.
The Maintenance Mistakes I See Beginners Make Most
I’ve seen more tanks crash during "cleaning day" than at any other time. If you want to keep your water crystal clear and your fish alive for years, you have to follow these three rules.
1. The "Old Water" Rule (Non-Negotiable)
I will say this until I’m blue in the face: Never rinse your filter media under the tap. Tap water contains chlorine and chloramines designed to kill bacteria. That’s great for your drinking water, but it’s a death sentence for the beneficial bacteria living in your filter.
The Way I Do It: When you do a water change, save a bucket of the "dirty" tank water. Take your sponges and ceramic rings and squeeze them out in that bucket. It looks gross, but it keeps your biological colony alive and healthy. To make water changes easy, see my post on the best pumps for water changes.
2. The $5 Secret: The Pre-Filter Sponge
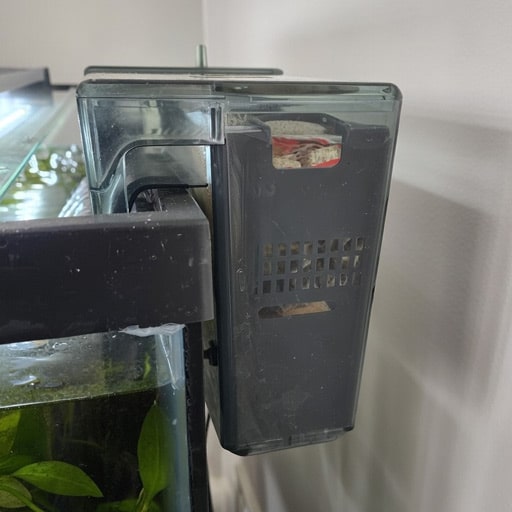
For the intake tube on my 50-gallon community tank, you’ll see a small cylinder of foam over the slats. This is a pre-filter sponge.
Why it’s a game-changer: It catches the "big gunk" (leaves, uneaten food, fish waste) before it ever enters your main filter box. Instead of deep-cleaning my Fluval C4 every two weeks, I just pull the pre-filter off and rinse it every few days. My main filter stays clean and efficient for much longer.
3. The "Stuck" Filter Fix
Has your filter ever failed to restart after a power outage or a water change? Before you throw it away, check the impeller.
The Fix: The impeller is the small magnetic fan inside the motor. Over time, it gets coated in "bio-slime" or catches a grain of sand. Take the motor apart (it usually just twists off), pull out the magnet, and wipe it down with a paper towel. 90% of the time, it will kick right back to life. I’ve "saved" at least half a dozen filters this way over the last 15 years.
Best Aquarium Filters FAQs:
My filter is making a grinding noise. Is it dying?
Usually, no. If it’s a grinding sound, a tiny grain of sand or substrate is likely stuck in the impeller (the magnetic fan). If it’s a "rattling" sound, it’s often just the plastic lid vibrating.
The Fix: Try putting a small piece of tape on the lid or a rubber band around the filter box to dampen the vibration. If that doesn't work, it’s time to clean the impeller magnet.
Do I really need to use the carbon that comes in the box?
Honestly? Most of the time, no. Carbon is great for removing medications or yellow tannins from driftwood. But it fills up and stops working after about 3 weeks. I prefer to leave the carbon out and use that extra space for more ceramic bio-rings. More surface area for bacteria equals a more stable tank.
Is it okay to turn my filter off at night to save power or quiet the room?
Absolutely not. Your filter needs to run 24/7. The beneficial bacteria living on your media need oxygenated water moving over them to stay alive. Ammonia becomes toxic to fish at fairly low concentrations, which is exactly why that bacterial colony matters so much (research on ammonia-oxidizing bacteria in aquarium biofilters). If you turn the filter off for 8 hours, you risk a bacterial die-off, which can lead to a massive ammonia spike the next morning.
How do I know if my filter is too strong for my fish?
Watch your fish. If they are constantly struggling against the current or getting blown into the glass, the flow is too high. This is a common problem for Bettas like my buddy Maximus.
The Fix: Look for a filter with an adjustable flow dial, or use a "baffle" (a piece of sponge or a plastic bottle) to break up the current where it enters the water.
Can I use two filters on one tank?
Yes! In fact, I love "over-filtering." On my 50-gallon community tank, I sometimes run a HOB and a sponge filter at the same time. It gives you a "backup" if one motor fails, and it makes your water look crystal clear. Just make sure the combined current isn't turning your tank into a whirlpool.
My filter has "Bypass." Is that a bad thing?
Bypass is when water flows around the filter media instead of through it. It usually happens when your sponges are so clogged that the water takes the path of least resistance.
The Fix: If you see water spilling over the back of your HOB filter or moving around the sides of the basket, your Trash Collector (the mechanical sponge) is full. It’s time for a quick squeeze in a bucket of old tank water to get that flow moving through the media again.
What is a Self-Priming filter, and do I need one?
Priming is just a fancy word for getting the air out of the pump so it can suck up water. Older filters require you to pour a cup of water into them before you plug them in.
My Thoughts: If you live in an area with frequent power flickers, a self-priming filter is a lifesaver. It ensures the filter restarts automatically when the power comes back on. If you have a standard filter, you have to be there to manually prime it, or the motor might burn out trying to pump air.
Should I add Filter Floss to my media basket?
If you want that clear liquid glass look, yes. Filter floss is a fine, polyester wool that catches the tiny dust particles that sponges miss.
Quick Tip: I only add floss when I have a special event or when I’m taking photos of the tank. Why? Because it clogs fast—usually within 3–4 days. If you use it, be prepared to swap it out frequently. It’s for polishing, not for long-term biological health.
How long does a filter last before I need to replace the whole unit?
If you take care of the impeller, a high-quality HOB or Canister should last you 5 to 10 years. I have an old AquaClear that has been running since 2018.
When to Replace: Usually, the only thing that actually breaks is the motor or a crack in the plastic housing. If it’s just making noise, try a new impeller first for $10 rather than buying a whole new $50 filter.
Conclusion: What Are the Best Aquarium Filters?
The logic of aquarium filtration is simple: you are building a home for bacteria, not just a trap for debris. In my 15 years, I’ve found that the most successful tanks aren't the ones with the most expensive gear, but the ones where the filtration matches the bioload.
In my 20-gallon long, I might lean on a high-end HOB (Hang-on-Back) for ease of access, but for my 50-gallon community, I wouldn't dream of using anything less than a high-capacity canister. Your filter is the only piece of gear that works 24/7 to keep your fish alive. Don't skimp on biological volume, and stop throwing away your "cycle" by replacing cartridges every month. Invest in a filter that allows for custom media, maintain it with logic rather than a schedule, and you’ll find that "clear water" becomes the default state of your tank, not a lucky accident.
Keep those sponges dirty and that water clean!

I founded AquaLogicHQ to share hands-on, tested strategies that come from 3-month algae battles and countless hours perfecting the nitrogen cycle. My mission is simple: I've made most of the mistakes on my four active tanks and am sharing the answers so you can avoid disaster in yours. When I’m not elbows-deep in a water change, I’m putting the latest hobby gear through its paces to see if it actually delivers.
- Best Canister Filters For Fish Tanks: What I’d Actually Buy for a Big Tank - July 26, 2026
- The Best Nano Aquarium Tanks I’ve Actually Run in My Fish Room - July 19, 2026
- The Best Fish Tank Heaters: Ranked and Sized for Your Setup - July 4, 2026